Deploy a React Application to Netlify
Learn how to Host & Deploy your React Applications to Netlify


Hey guys 👋, in this article we are going to look at the two different methods that we can use to host and deploy our react applications using Netlify.
The first method takes less than a minute, which is crazy. and the second method which includes continuous deployments and updates to our app through GitHub will only take you a few minutes to set up 🤠. That's amazing. excited? I am too 😀, let's get right into it 👇.
To follow along with this tutorial, you need to have a Github and Netlify account. so go to their sites and create one if you haven't already.
With that done. we are going to create a new react app. so that you can follow along 100% of the way.
Create a new React App
create a new empty folder on your desktop or any directory of your choice. give it a name. I'm gonna
call mine react_app. great.
open it in your VS Code or any editor of your choice.
Next, we will need to open up a terminal. you can make use of your operating system default Terminal, Git bash, or the integrated terminal that is built-in with VS Code.
Navigate to the directory where your app is. mine is
cd desktop/react_app
you won't have to do this if you are using the integrated VS code terminal 😏.
From here you will be able to initialize your react app. by simply running
npx create-react-app (Name_Of_App)
where (Name_Of_App) would be what you want to name your react app.
This might take some time. so feel free to go make yourself a hot cup of tea ☕ while it runs on your device 😊.
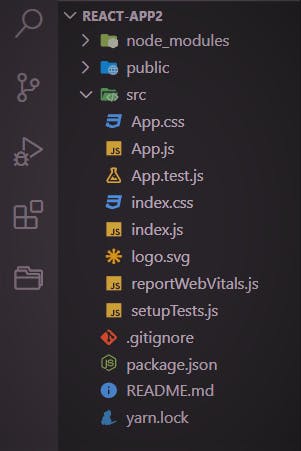
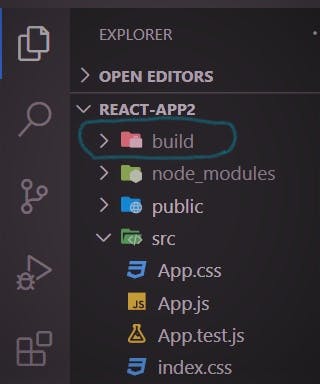
Great!, after that's done your folder structure should look similar to this in your code editor.
run
npm start
to start the application and preview it in your browser. you should see something like this.
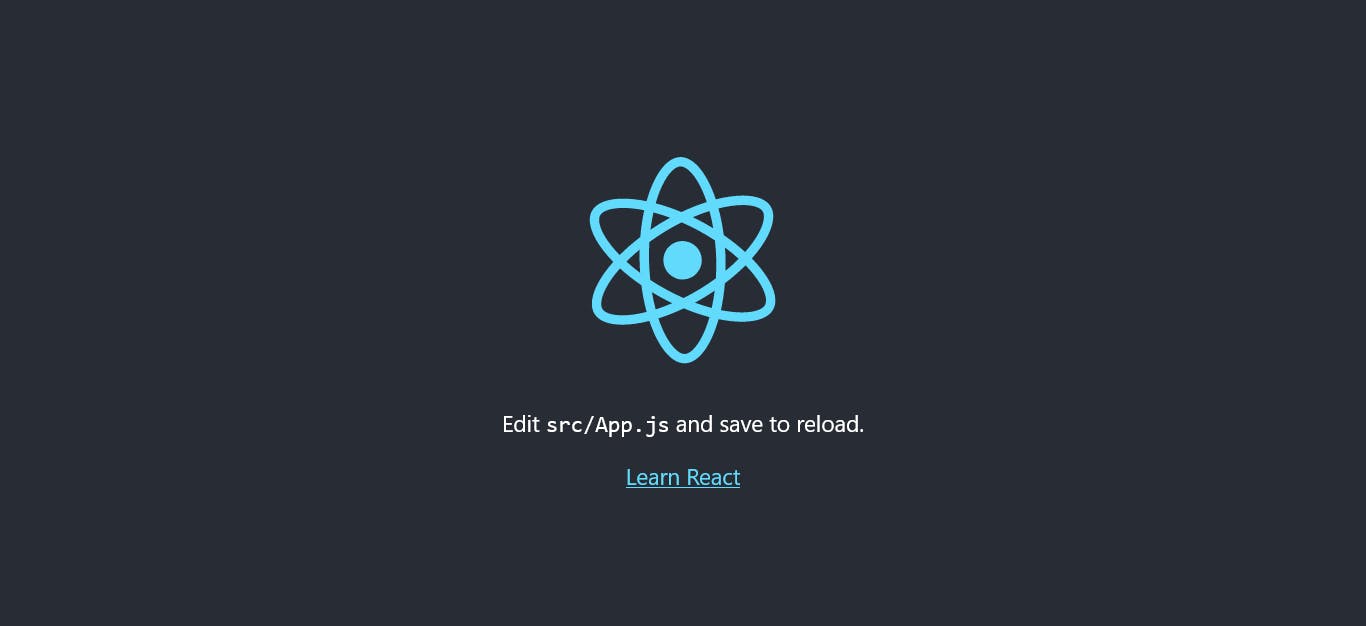
Great! 🎉🎇. we successfully created a demo react app.
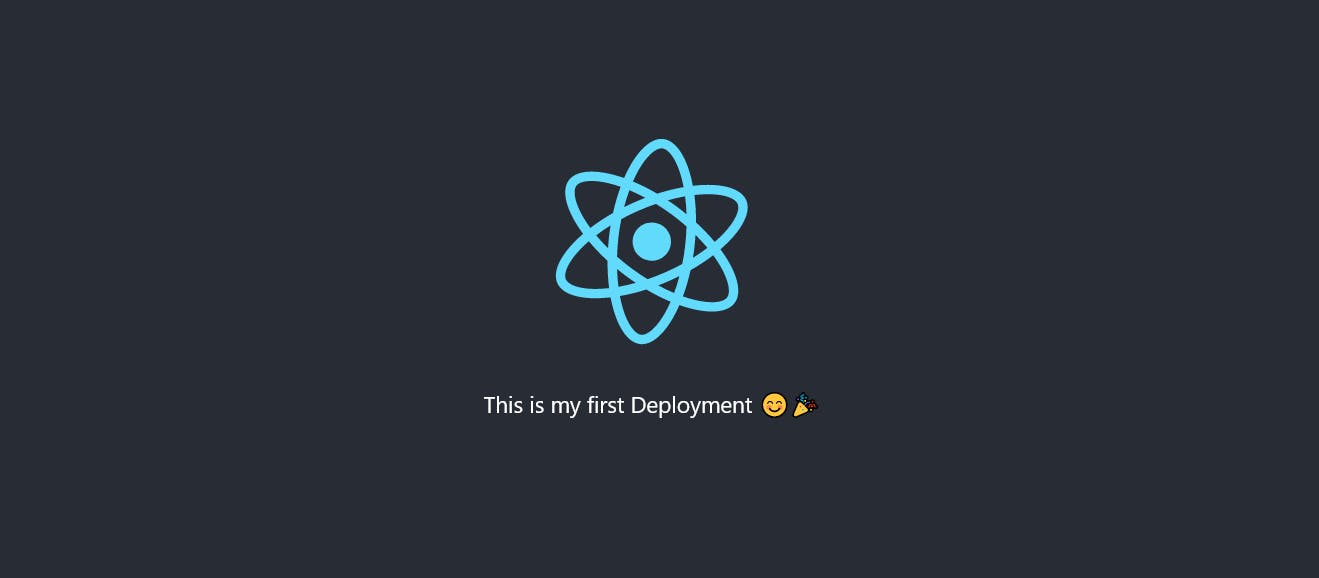
you can go to the src folder and edit the App.js file before deploying. to customize it a bit.
Something like this.
function App() {
return (
<div className="App">
    <header className="App-header">
        <img src={logo} className="App-logo" alt="logo" />
        <p>This is my first Deployment 😊🎉</p>
    </header>
</div>
);
}
Save. and now you should see your edited version in the browser.
Great!, now let's focus on the main goal of this article. to show you how we can take our app from
the localhost port 3000 that only we can see, to the internet. so that you can share it with your friends, employers, really anyone.
Time to Deploy!
Now that we have our mock app up and running. Let's deploy it to the web looking at the methods mentioned at the introductory of this article 😀.
Manual Deployment
This is when we manually deploy our sites from our local machines to netlify.
You'll need to have a Netlify account. So go ahead and signup or login if you already have one.
When you are logged in, go to the bottom of the page where you should see this empty box, where we can drag and drop our site folder from our PCs to netlify.
![image of empty drag-and-drop box]cdn.hashnode.com/res/hashnode/image/upload/..)
Before getting to it, first, stop the react server by hitting Ctrl C in the terminal. Next, we would need to build our react app. simply run
npm run build
This is going to create a built version of react that our browsers can natively understand, now we
can freely deploy on the web. read more about this here.
Once done, you should see the build folder in your folder structure.
Next, open your react app in finder if you're on a mac or file explorer for windows.
Now, you can drag and drop the build folder into the empty box on the Netlify page. That is it, after a few seconds, the application should be deployed on the web! hurray!!!🎉. Now you get to have a real URL that you can share with people to access the site 😊. This process works for any frontend react application, it's that simple.
Automated Deployment
One problem with our current deployed version is that if we make a change to our source code, the changes are not going to be reflected on the hosted version.
And this makes sense, because, remember it is the build folder that contains the version of our
app that is accessible by web browsers.
With it already being uploaded to Netlify, changes made to the site's code on our PCs would never be reflected on the build folder on Netlify. Unless you build the app, and deploy it manually again 👀.
Now imagine this is a full-scale project, where we are adding new features every day and deploying them 👀. you can see that this process would be impossible 😞🤦♂️.
🤔 So how do we deploy our applications so that, all changes made to the code are reflected on the deployed site.
The first step is to add push our app to a Github repository, go to github and create a new repository for your app. Follow this guide on the Github docs on how to connect your app to the remote repo on Github.
Once you have connected the repo to your app, run:
git push -u origin main
On your terminal to push your code to GitHub.
Head back to Netlify, scroll to the top of the page and click on the "New site from Git" button.

You will be asked to choose the Git provider where your site’s source code is hosted when you pushed it from Git. In this case, it's probably Github so click on that.
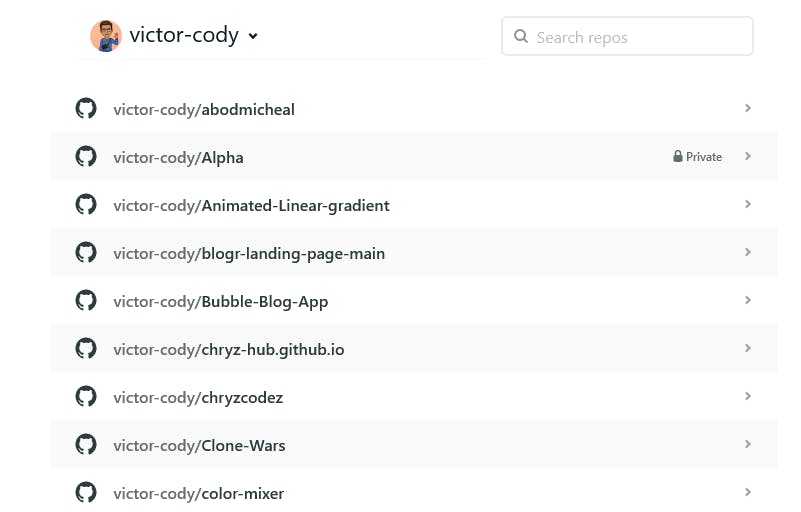
Then you can search for the specific repository you wish to deploy, among all your Github repositories. Click on it when found.
You can go ahead and click on the "Deploy" button.
After a few seconds, it should now be deployed!. Your app is now Live!. congratulations!! 🎉
Proving that our Deployment is Automated
Now, whenever you push to Github. Netlify would automatically build our app for us and update our
deployed version.
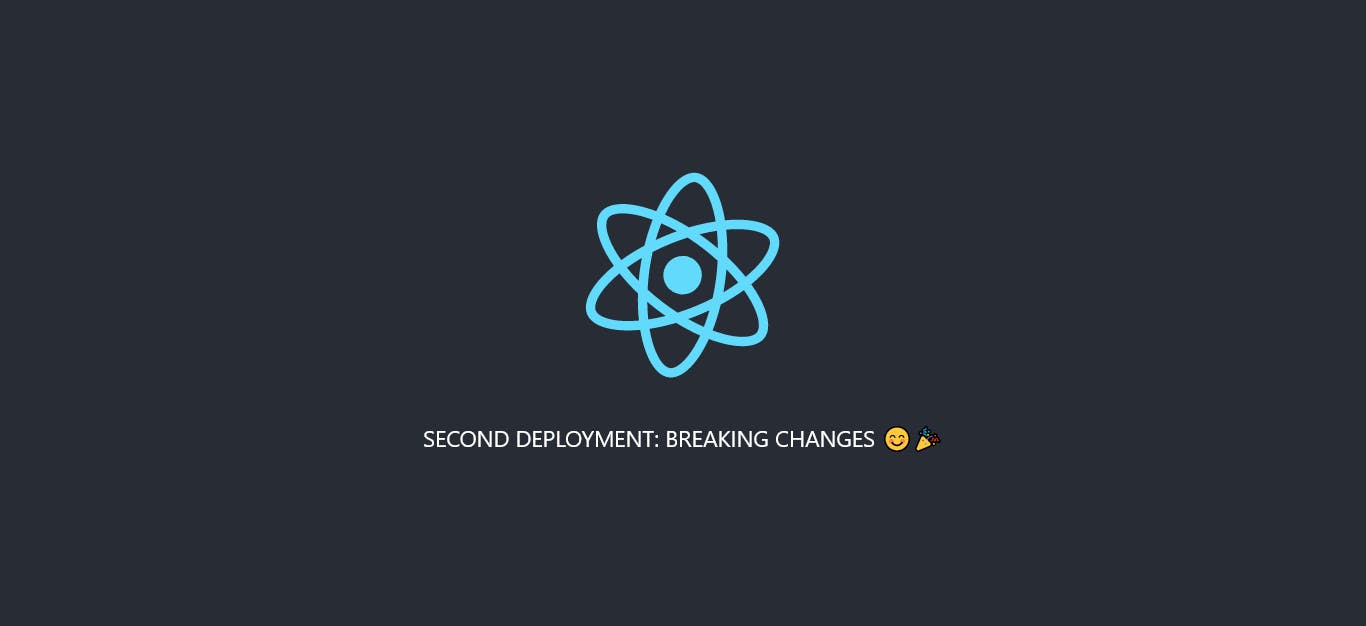
To prove this. we are going to make some tweaks to our App.js file by simply changing some text.
to see if truly our
changes would be reflected on the live site. once we push to Github.
function App() {
return (
<div className="App">
    <header className="App-header">
        <img src={logo} className="App-logo" alt="logo" />
        <p> SECOND DEPLOYMENT: BREAKING CHANGES 😊🎉</p>
    </header>
</div>
);
}

export default App;
Once those changes are made. commit and push your code to Github.
In no time you should see your changes reflect in your Netlify website.
Hurray!
Wrapping Up
And that's it, folks. It's that easy to get our (react) apps off our PCs and deployed on the web, using the automated deployments which would reflect the latest changes whenever we push our changes to Github.
Thanks much for reading. Hope you wouldn't break a sweat when next you are deploying your react applications 😅.
Let me know in the comments which free hoisting service you have been using. and maybe I might write on that.
Well... what hat are you still waiting for? 🤷♂️. Go deploy that react app to Netlify!.

I hope you found this helpful, Thanks so much for reading!! 💖 And keep on coding! 👨💻.